Purpose: Explains the steps to extend an existing volume using unallocated space.
Thank you for reading this post, don't forget to subscribe!You can increase the size of an existing volume by using the unallocated (empty) space on the disk. This article explains how to do it using Disk Management for a basic volume.
Prerequisites
- Unallocated space must be right next to the volume you want to extend.
- There should be no other volumes between them.
- The unallocated space must be on the same disk as the volume.
- You cannot extend a volume across different disks.
View unallocated space
You can view the space utilization for a disk drive by using Disk Management.
- Open the Computer Management console by searching for it in the taskbar.
- Navigate to Storage > Disk Management.
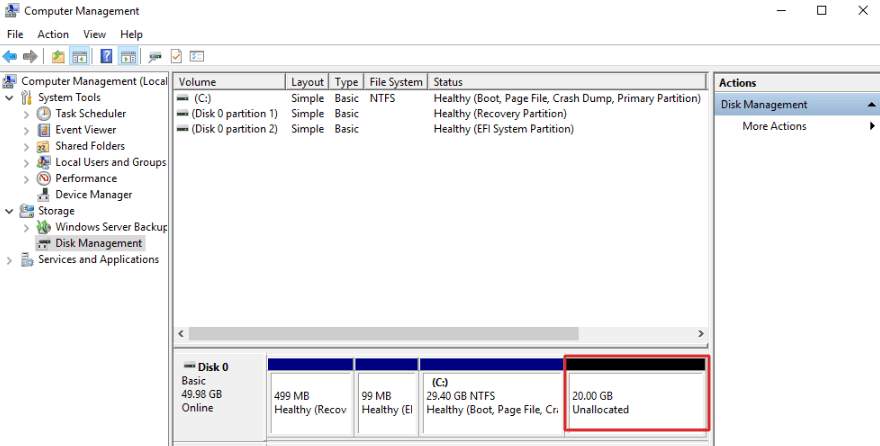
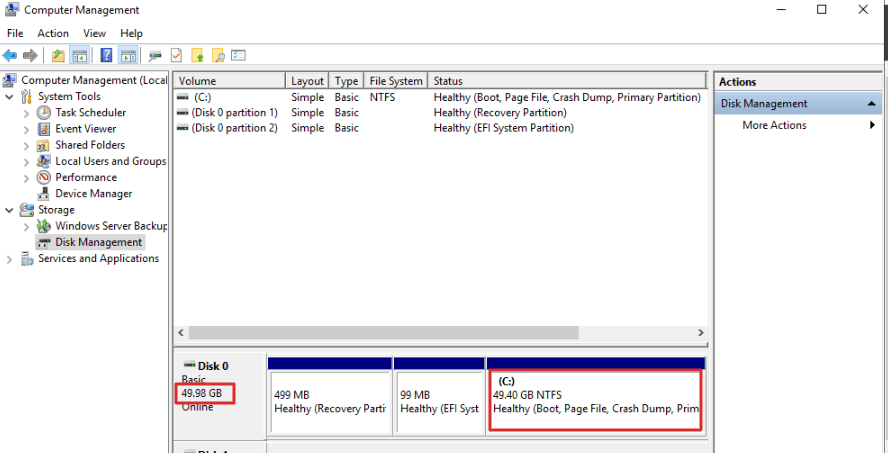
3. In the Disk Management window, you can see the disk drives and their partitions.
The unallocated space on a disk drive appears as a black bar with the label Unallocated.
4. If you have multiple disk drives, you can select a disk drive to see its details, including the unallocated space.
The following image shows the details for a disk drive. The unallocated space on the disk drive appears on the right and has a red border outline.
Extend a volume
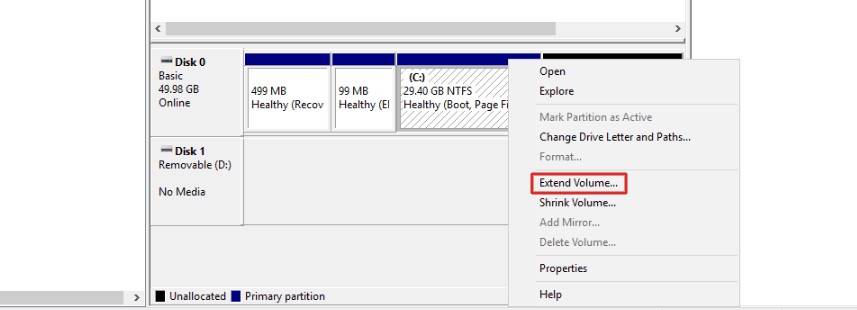
- In Disk Management, right-click the volume that you want to extend, and then select Extend Volume. The Extend Volume Wizard opens.
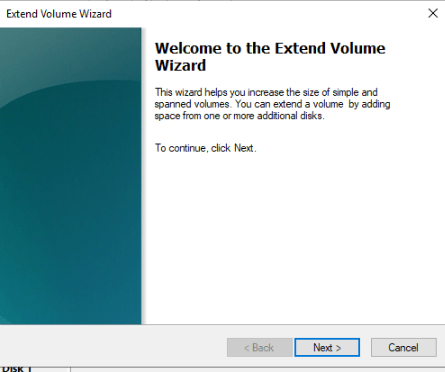
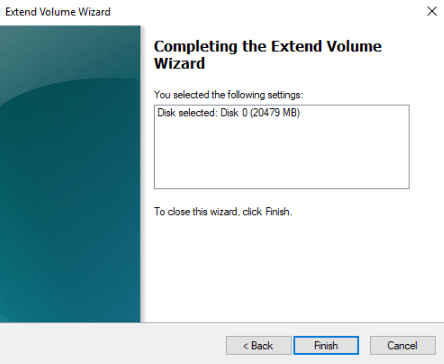
2. In the Extend Volume Wizard, select Next.
3. In the wizard, under Select Disks, select how much disk drive space to use to extend the volume.
The default approach is to use all available empty space (Maximum available) on the disk drive.
If you plan to create other volumes in the available empty space, you can select a smaller amount of space to use to extend the volume.
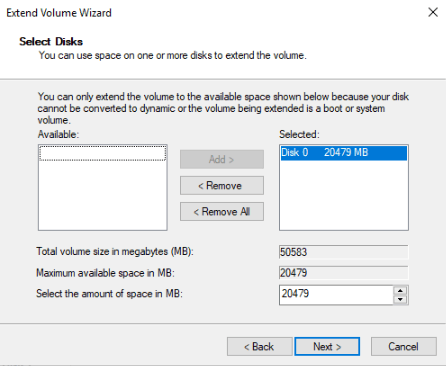
4. Select Next, and then select Finish to extend the volume.
Once the process is complete, the disk will appear as an expanded volume in Disk Management.
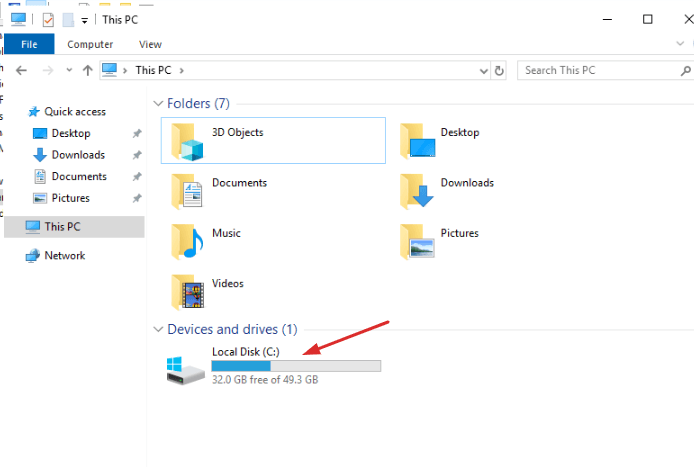
You can also confirm the increased size from File Manager, where the disk will show the updated capacity.
If you have attached a secondary Volume to a Windows VM :
When a new disk is attached to a Windows VM, it may not appear immediately in File Explorer. Windows marks new disks as offline or unallocated by default for safety and system integrity.
To make the new disk usable, you must bring it online and initialize it using the Disk Management tool. Click here for detailed steps.