CloudPe allows you to automate the setup of virtual machines using the “Customization Script” feature during VM creation. You can use either:
- A shell script, or
- A cloud-init script (YAML with #cloud-config)
This guide explains how to use a cloud-config script to automatically install cPanel on a newly created VM.
Note: cPanel requires a fresh installation of AlmaLinux or CloudLinux with at least 2 GB RAM and a valid license.
Prerequisites
Before you begin:
- Use a supported OS.
- Ensure the VM has at least 2 GB RAM, 20 GB Disk, and a public IP
- Ensure port 2087 (WHM) and 2083 (cPanel) are open in the Security Groups.
- A domain/subdomain (e.g., cpanel.example.com) pointed to your VM IP is preferred for SSL
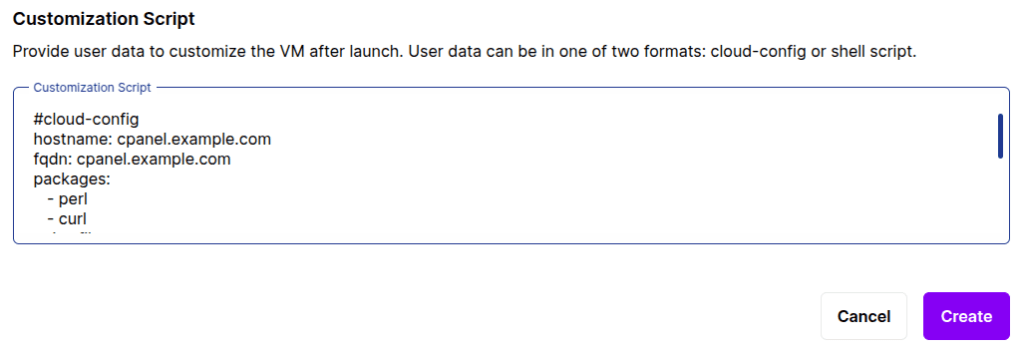
Prepare the Customization Script
Use the following cloud-config script:
#cloud-config
hostname: cpanel.example.com
fqdn: cpanel.example.com
packages:
   - perl
   - curl
write_files:
   - path:  /etc/resolve.conf
     content:   |
        nameserver   8.8.8.8
        nameserver   8.8.4.4
runcmd:
   - curl -o latest -L https://securedownloads.cpanel.net/latest
   - sh latest
What this does:
- Sets the hostname and FQDN
- Installs dependencies (Perl, Curl)
- Sets Google DNS for internet access
- Downloads and runs the cPanel installer
Launch a VM in CloudPe
- Go to your CloudPe dashboard.
- Click Create VM.
- Select your desired OS.
- Choose resources (CPU, RAM, Disk, Network).
- Under Customization Script, Paste the script above into the script box.
- Launch the VM.
What Happens Next?
Once the VM boots:
- The script runs automatically.
- cPanel installation begins and takes about 20–40 minutes.
- When complete, you can access WHM (WebHost Manager) via:
https://<your-vm-ip>:2087
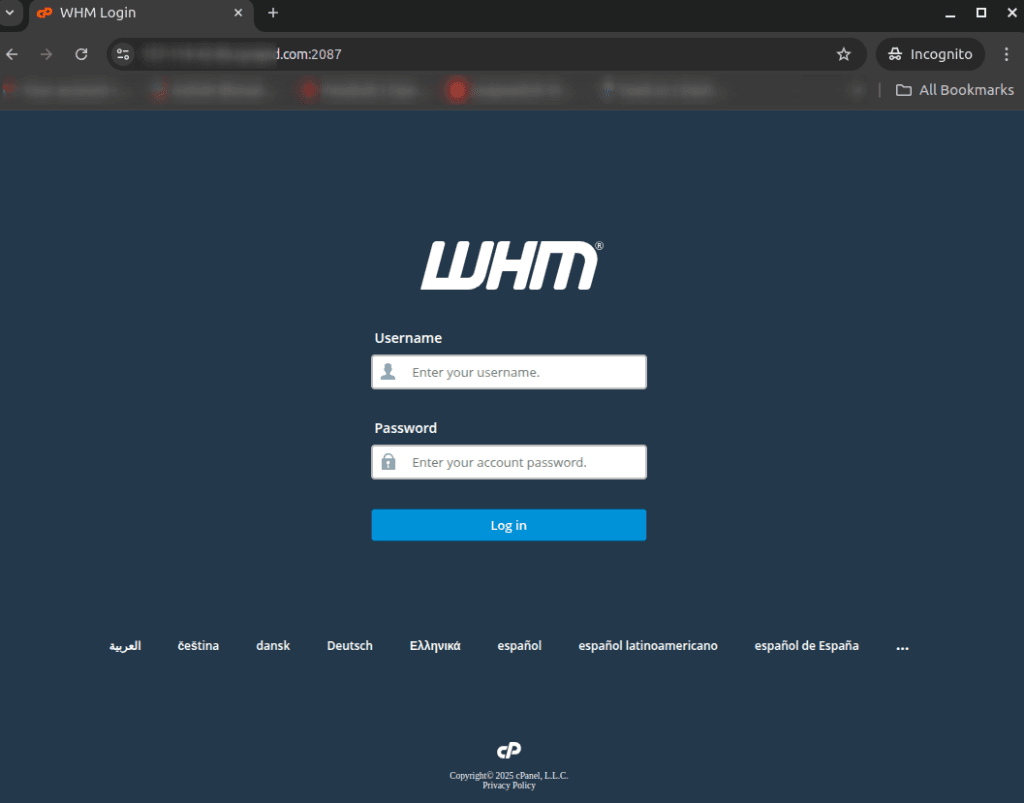
Login with:
- Username: root
- Password: your VM’s root password (set during creation)
Post-Installation Steps
- Accept license agreement on first WHM login.
- Complete the setup wizard (network, hostname, nameservers, etc.)
- Activate cPanel license (trial or paid)
- Create cPanel accounts or install websites as needed
Troubleshooting Tips
- If DNS resolution fails, verify that
/etc/resolv.confcontains valid nameservers. - If cPanel fails to install, check logs at
/var/log/cpanel-install.log. - Ensure the server has no existing control panel or conflicting services.
Summary
By using a cloud-init cloud-config script in the CloudPe VM creation wizard, you can automatically:
- Set system hostname
- Configure DNS
- Install cPanel with a single script
This reduces manual work and ensures consistent deployments.