Cloning a volume in CloudPe allows you to create an exact copy of an existing volume, which can be useful for backup, testing, or migration purposes. These clone volumes offer versatility and efficiency in managing data.
Important Note:
You can only clone a volume if it is either:
- Attached to a VM that is currently stopped
- Not attached to any VM, or
Step 1: Create a Volume
Before cloning, ensure that the volume you want to duplicate already exists. If not, refer to the article “Creating a Volume“ to set one up.
Step 2: Clone the Volume
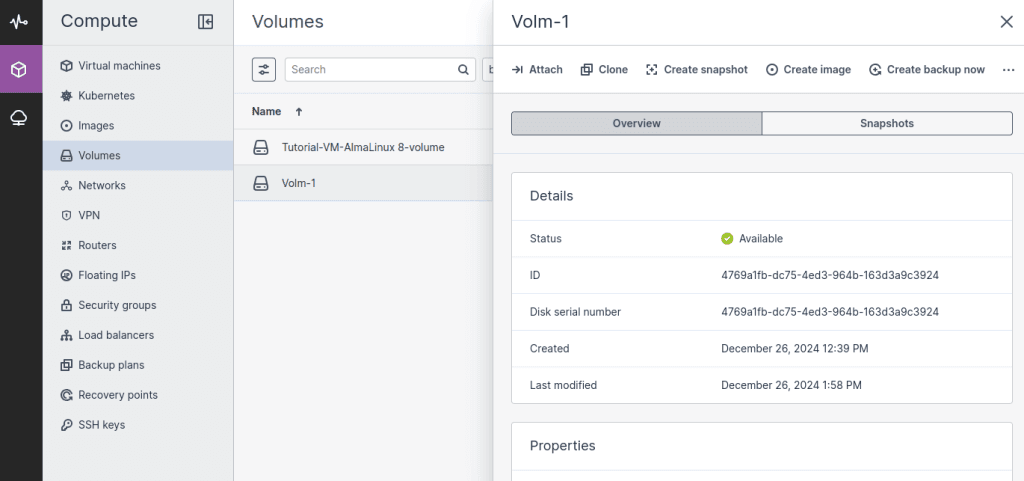
- Access the CloudPe Advanced Dashboard
Log in to the CloudPe region’s advanced dashboard.
- Navigate to the Volume
Go to the “Compute” section, and under “Volumes”, find and select the volume you want to clone. - Initiate Cloning
Click on the “Clone” option.
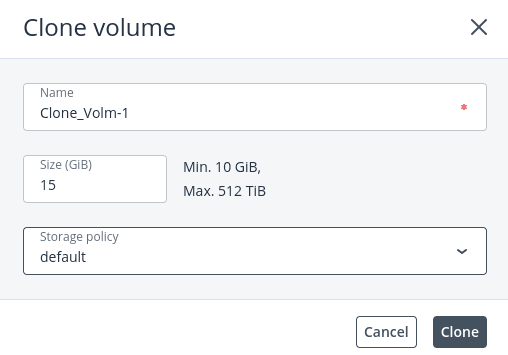
4. Configure Clone Settings
In the Clone Volume window:
Click Clone
Specify a name for the new volume
Define the size and choose a storage policy
5. View Cloned Volume
Once the process completes, the cloned volume will be visible under the “Volumes” section.

How to Use the Cloned Volume
Attach to an Existing VM: You can connect the cloned volume to a VM that already exists.