Changing the flavor of a Virtual Machine (VM) allows you to upgrade or downgrade the resources (CPU, RAM, etc.) allocated to it — without needing to recreate the VM from scratch. This is useful when you need more performance or want to optimize resource usage.
Follow the steps below to change the flavor of an existing VM on the CloudPe platform:
Steps to Change VM Flavor
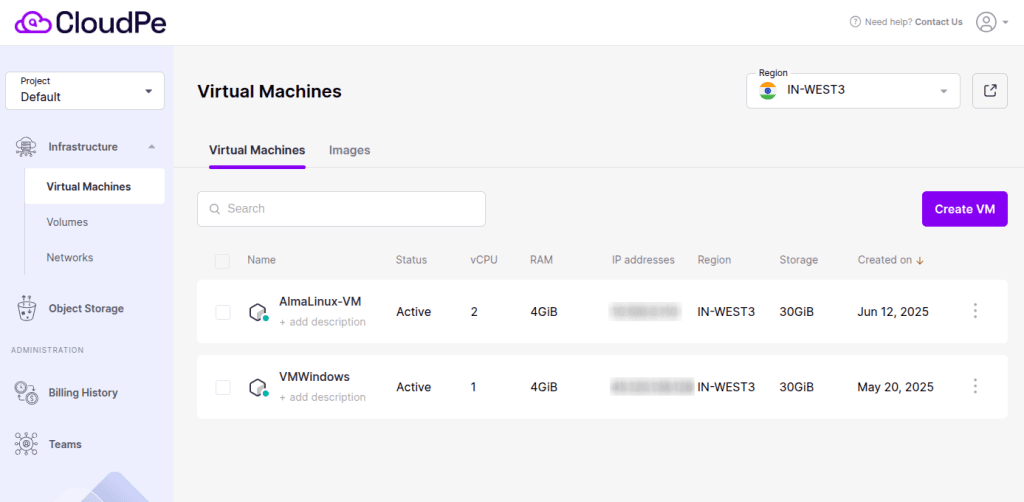
1. Log in to the CloudPe Dashboard
Access your CloudPe account. Here, you’ll see a list of all the Virtual Machines you have created.
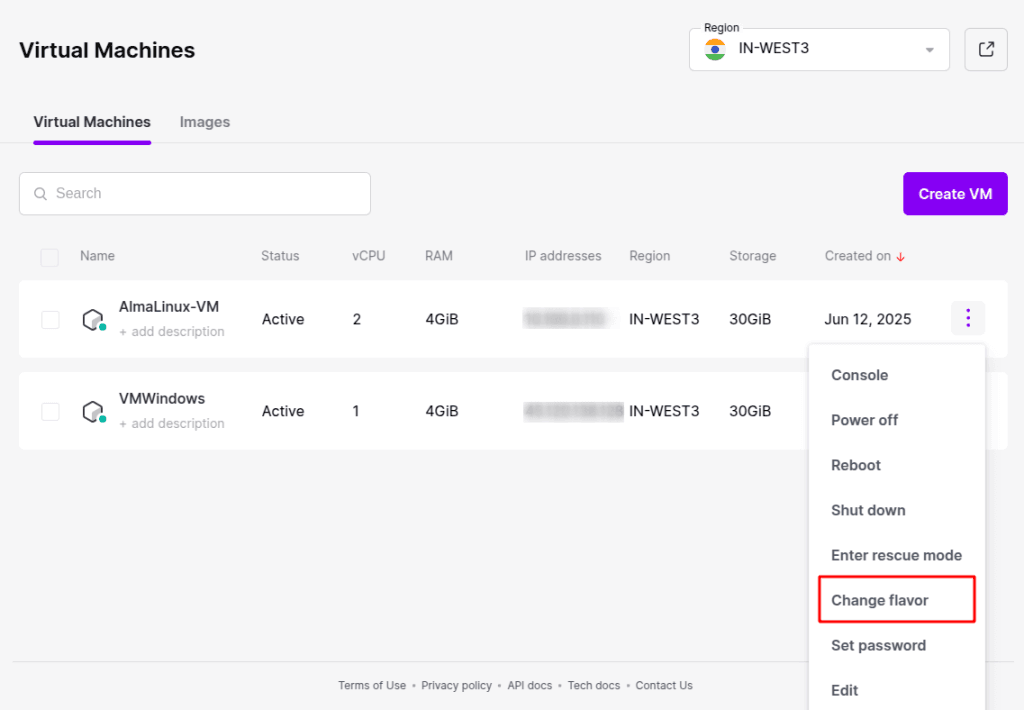
2. Open the Options Menu
For the VM you wish to resize, click on the three-dot menu (⋮) on the right-hand side of the VM’s listing.
3. Click on “Change Flavor”
From the dropdown options, select “Change Flavor.”
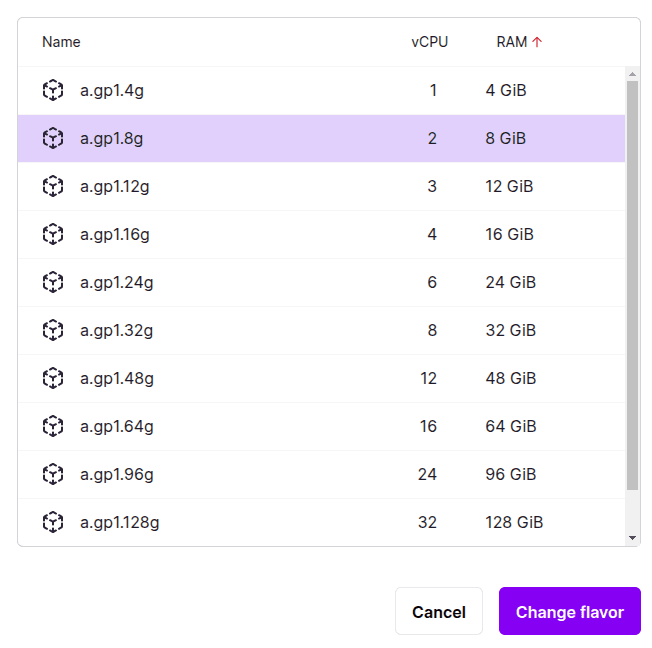
4. Choose the New Flavor
A window will appear showing the available flavor options. You can choose to upgrade (increase resources) or downgrade (decrease resources) based on your current requirements.
5. Apply the Changes
Once you’ve selected the desired flavor, click on “Change Flavor.”
6. Wait for the Update
The change process will complete within a few seconds. The updated flavor details will now be reflected on the Dashboard.

Things to Keep in Mind
- No data loss: Changing the flavor does not affect the data or configuration inside the VM.
- Downtime: A short reboot may occur while the flavor is being applied.
If you face any issues during the process or need assistance in selecting the right flavor, feel free to contact the CloudPe Support Team.