RDP stands for Remote Desktop Protocol.
It is a Microsoft protocol that allows you to remotely access and control another Windows computer over a network or the internet.
How Does It Work?
RDP uses port 3389 by default.
When you connect using the Remote Desktop Connection (mstsc.exe) app, your keyboard, mouse, and screen are sent over the network to the remote PC.
It provides a graphical interface, unlike SSH which is command-line based.
How to Enable RDP on a Fresh Windows Server VM
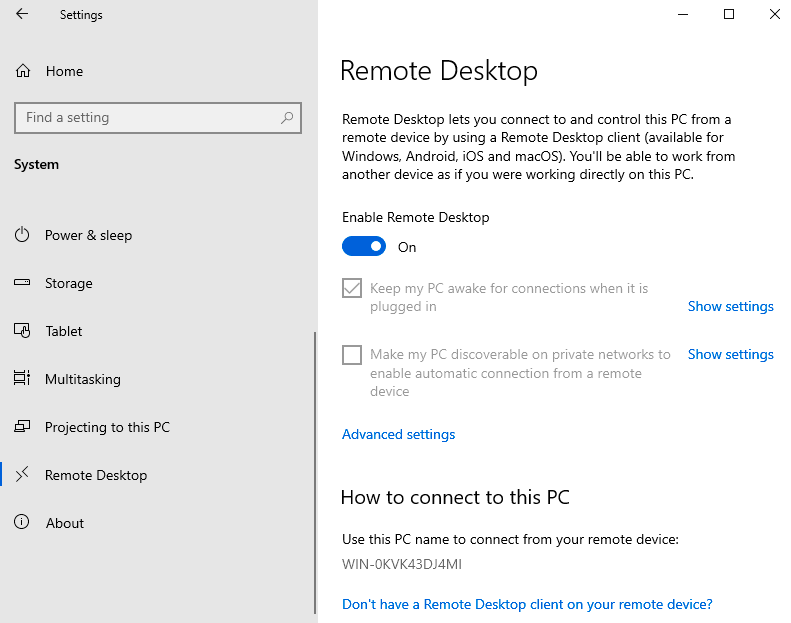
1. Enable RDP in System Settings:
Go to Start → Settings → System → Remote Desktop
Toggle “Enable Remote Desktop” to ON
Allow the connection when prompted.
2. Allow RDP Through Windows Firewall:
Open Windows Defender Firewall
Click “Allow an app or feature through Windows Defender Firewall”
Ensure Remote Desktop is checked for Private and/or Public
User Permissions:
Right-click This PC → Properties → Remote Settings
Under Remote Desktop, click Select Users
Add the user accounts you want to allow.
How to Change the Default RDP Port (3389):
Step 1: Open Registry Editor
- Press Windows + R, type regedit, and press Enter.
- If prompted by UAC, click Yes.
Step 2: Navigate to the RDP Port Setting
Go to the following path:
HKEY_LOCAL_MACHINE > System > CurrentControlSet > Control > Terminal Server > WinStations > RDP-Tcp
Step 3: Modify the Port Number
- In the right pane, find the entry named PortNumber.
- Double-click it.
- Change the Base to Decimal.
- Enter your desired port number (e.g., 3390, 5000, etc.).
- Click OK.
Tip: Choose a port number between 1025 and 65535 that’s not already in use.
Step 4: Allow the New Port Through Firewall
- Open Windows Defender Firewall with Advanced Security.
- Click Inbound Rules → New Rule.
- Choose Port → Click Next.
- Select TCP and enter your new port number → Click Next.
- Allow the connection → Next.
- Choose the profiles (Domain, Private, Public) → Next.
- Name the rule something like “Custom RDP Port” → Finish.
Step 5: Restart the System (or RDP Service)
- To apply changes:
- Restart the server.
Or - Open Command Prompt as admin and run:
# net stop termservice
# net start termservice
Tip: Always document your new RDP port and test connectivity before logging out, to avoid being locked out of your system.
By taking these steps, you reduce your attack surface and add an extra layer of obscurity to your remote connections.