Creating a volume
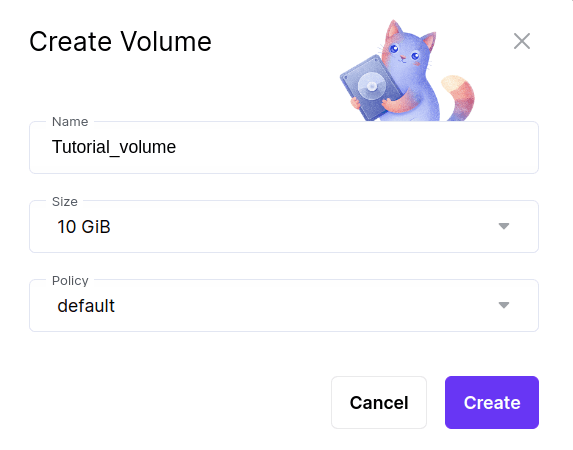
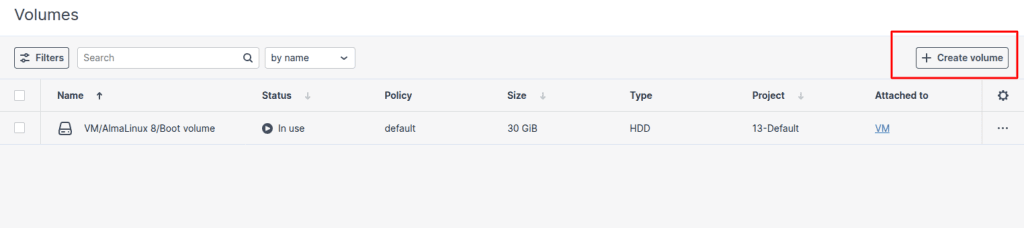
1. On the Volumes screen, click Create volume.
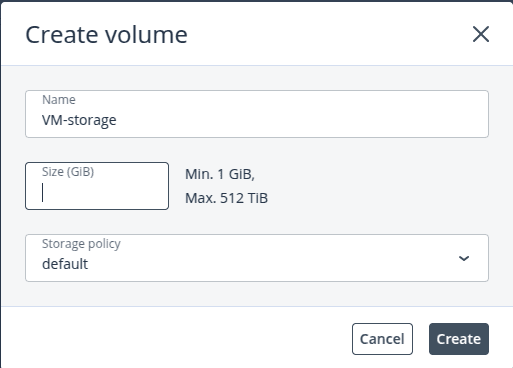
2. In the Create volume window, specify a volume name and size in gigabytes, and select a storage policy, You can choose Default or General Purpose and then click Create.
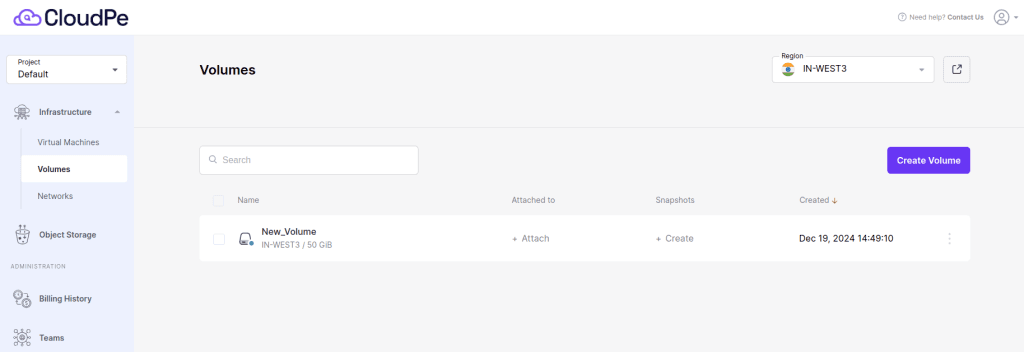
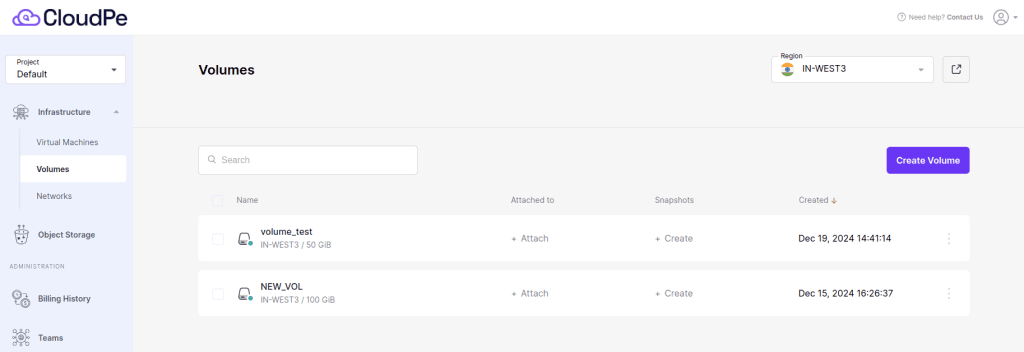
The volume has been created and can be viewed on the Volume screen.
If you want to customize your volume size you can go to the advanced dashboard and then create a new volume of the required size and attach it to virtual machine
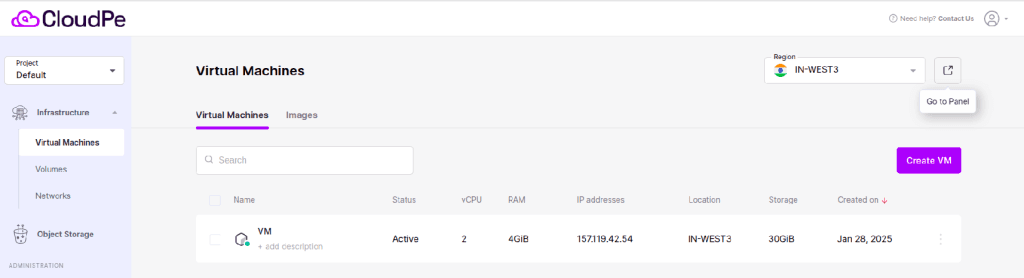
Once the volume is created, you can attach it to your existing VM.
To attaching Volume to Virtual Machine. Click here.
To extend the volume:
How to Extend a Basic Volume on a Windows VM
Next Step: Once the disk is online and initialized, you can extend an existing volume using the new space.
See How to Extend a Basic Volume on a Windows VM for detailed steps.
If you have attached a secondary Volume to a Windows VM :
When a new disk is attached to a Windows VM, it may not appear immediately in File Explorer. Windows marks new disks as offline or unallocated by default for safety and system integrity.
To make the new disk usable, you must bring it online and initialize it using the Disk Management tool. Click here for detailed steps.
How to Expand a Volume on a Linux Virtual Machine?
Expanding a volume on a Linux VM involves several steps, for detailed click here.